
Smart Pergola Installation Guide: Step-by-Step for AluShed Louvered Systems
Published August 25, 2026 · By AluShed Team · 8 min read
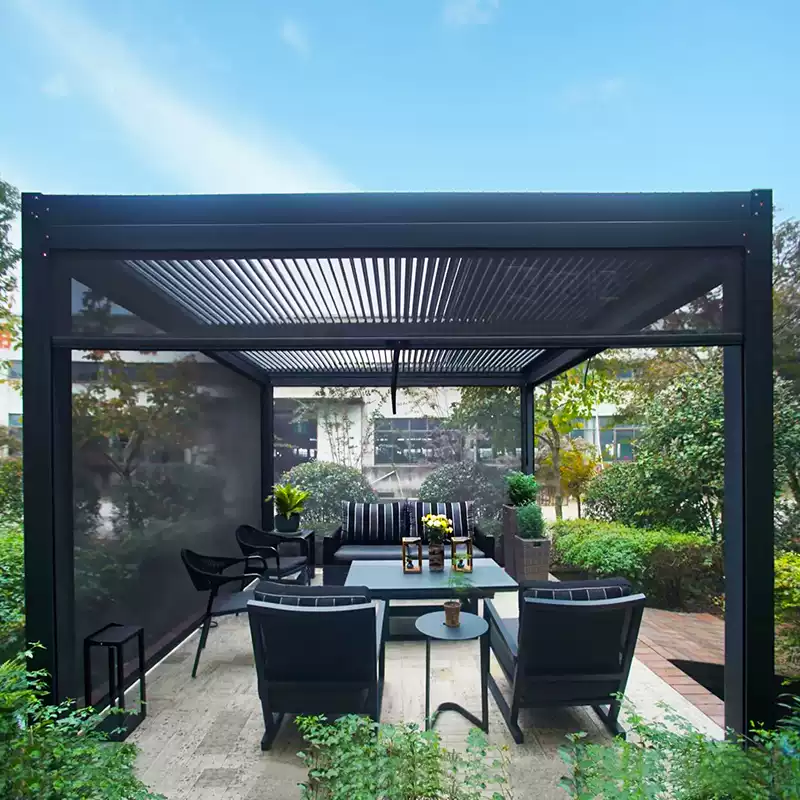
Installing a motorized louvered pergola is a manageable project for experienced DIYers and a standard job for professional installers. With the right tools, a solid foundation, and this step-by-step guide, you can have your AluShed pergola assembled and running in a single weekend.
This guide covers the full installation process — from site preparation and concrete footings to motor wiring and final debugging — based on AluShed's AluS180 Light and AluS220 Heavy series. Every step includes pro tips to avoid common mistakes.
📑 Table of Contents
Before You Start: Tools & Materials
Before unboxing anything, confirm you have the following tools and that all parts are present using the packing list included with your shipment.
🔧 Required Tools
- Cordless drill + bits (hex, Phillips)
- Spirit level (60cm+)
- Tape measure (5m+)
- Socket wrench set (8-19mm)
- Rubber mallet
- Ladder or scaffolding
- Concrete mixer (or wheelbarrow + hoe)
- Angle grinder (for on-site cuts)
📦 Included with Your Order
- Aluminum posts, beams, blades
- Stainless steel fasteners & brackets
- 24V DC tubular motor(s)
- Remote control + receiver
- Rain sensor (if ordered)
- Integrated gutter system
- LED strip lighting (if ordered)
- Assembly manual + hex keys
Estimated time: 4-6 hours for 2 installers (3x4m unit), plus 24-48 hours concrete curing. Team size: Minimum 2 people, 3 recommended for units over 4x4m.
Step 1: Site Prep & Foundation Footings
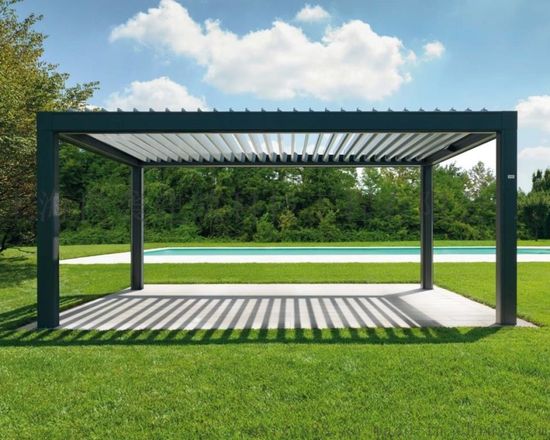
The foundation is the most critical part of the installation — a poorly anchored pergola can shift, leak, or fail in high winds.
- Mark the footprint: Use marking paint or stakes and string to outline the exact pergola dimensions. Verify diagonals are equal to ensure a perfect rectangle.
- Dig footings: At each post location, dig a hole 30×30×40cm (minimum) below the frost line. For AluS220 Heavy or units over 4×6m, use 40×40×50cm with #4 rebar cage.
- Set anchor bolts: Place the post base plate in the hole and pour concrete. Embed M16 anchor bolts (4 per post) using the base plate as a template. Ensure the plate is perfectly level.
- Wait for curing: Allow concrete to cure 24-48 hours before loading. Do not skip this step.
Step 2: Install the Posts
- Bolt posts to base plates: Lift each post onto its base plate and secure with the provided stainless steel bolts. Finger-tighten all bolts first.
- Plumb and level: Use a spirit level on two adjacent faces of each post. Adjust with shims if needed, then fully tighten all bolts.
- Verify diagonal measurements: Measure corner-to-corner diagonals — they must be within 5mm of each other. Adjust post positions if needed before proceeding.
- Install post caps: Slide the decorative post caps onto the top of each post (these will connect to the beam system).
→ View AluShed Pergola Series & Specs →
Step 3: Assemble Beams & Roof Frame

- Assemble the perimeter frame: Connect the front and rear beams to the side beams using the provided corner brackets. This forms the roof rectangle on the ground first.
- Lift frame onto posts: With at least 2 people (3 for larger units), lift the assembled frame onto the post caps. Secure with bolts through the pre-drilled holes.
- Install intermediate beams: If your unit has middle support beams (spans over 4m), install them now, evenly spaced across the roof opening.
- Check level and square: Verify the entire frame is level in both directions. Adjust shims under posts if needed. Tighten all frame bolts to specified torque (typically 25-30 Nm).
- Install gutter system: Attach the integrated gutter channels along the front and rear beams. Connect downspouts to the posts (water drains inside the posts to ground level).
Step 4: Install Louver Blades
- Insert blade linkage arms: Each louver blade has a pivot arm at both ends. Insert the arms into the side beam tracks starting from one end.
- Slide blades into position: Carefully slide each blade into the frame, ensuring the pivot arms engage with the drive linkage. Blades should rotate freely by hand at this stage.
- Connect the drive shaft: The tubular motor connects to a drive shaft that runs through all blade linkage arms. Insert the drive shaft and secure with set screws at each blade.
- Test manual rotation: Before wiring the motor, manually rotate the blades through the full 0°-135° range. They should move smoothly without binding. If any blade sticks, check for misaligned linkage arms.
- Install end caps: Once all blades move freely, install the blade end caps and weather seals.
Step 5: Motor & Control System
- Mount the motor: Insert the tubular motor into the motor housing at one end of the roof frame. Connect the motor output shaft to the blade drive shaft using the coupling.
- Wire the power supply: Run a weatherproof cable from your outdoor GFCI outlet to the motor transformer. The transformer converts 110/220V AC to 24V DC. All connections must be in waterproof junction boxes.
- Connect the receiver: Plug the radio receiver into the motor control port. Pair the remote control by holding the programming button on the receiver until the motor jogs, then press the remote's up button.
- Set open/close limits: Use the motor's limit switches (or remote programming) to set the fully open (0°) and fully closed (135°) positions. This prevents the motor from over-driving the blades.
- Install rain sensor (optional): Mount the rain sensor on the roof frame where it is exposed to rain. Wire it to the motor receiver — when rain is detected, the blades automatically close.
- Set up WiFi / smart control (optional): If you ordered the WiFi module, connect it to your 2.4GHz WiFi network using the manufacturer app. This enables Alexa / Google Home voice control and smartphone operation.
Step 6: Debugging & Final Inspection
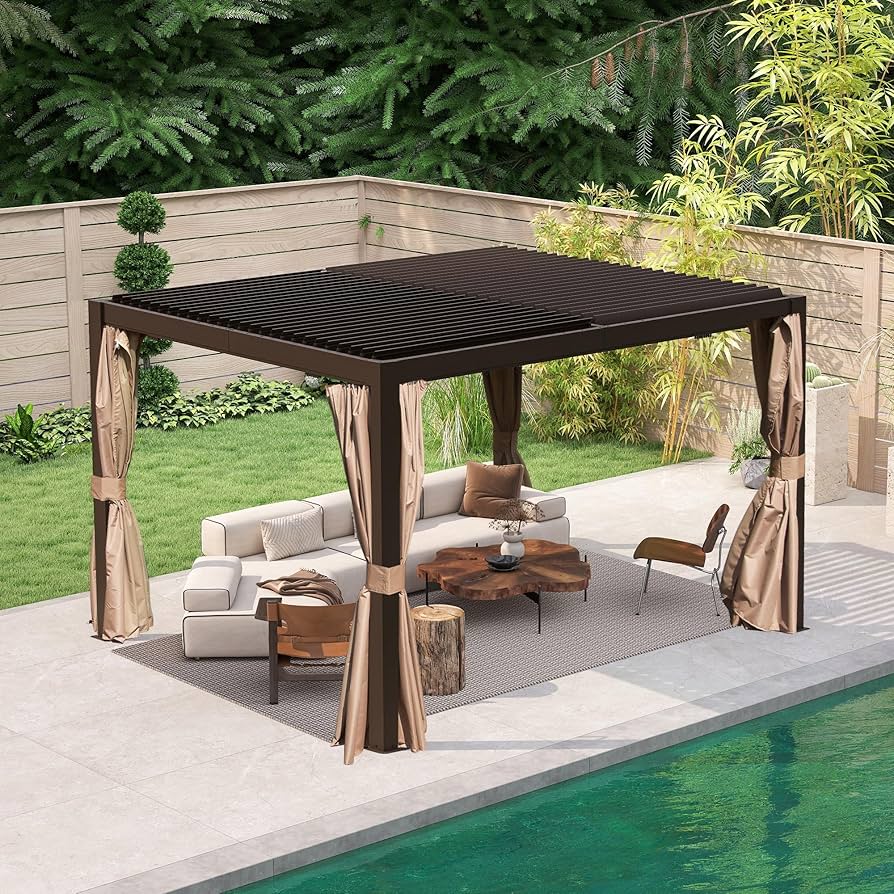
- Full range test: Open and close the blades 5 times using the remote. Verify smooth operation, no unusual noises, and that blades stop at the correct limits.
- Water test: With blades fully closed, spray the roof with a garden hose for 5 minutes. Check underneath for any leaks. All water should drain through the gutter system and posts.
- Wind test: If possible, test with a leaf blower or wait for a windy day. Blades should not rattle excessively. If they do, check blade end seals and linkage tightness.
- LED test (if equipped): Turn on the integrated LED lights and verify all sections illuminate evenly.
- Final bolt check: Go over every bolt with a torque wrench to confirm nothing loosened during assembly.
- Apply silicone: Run a bead of weatherproof silicone along all exterior joints and screw heads for extra corrosion protection.
Safety Tips & Common Mistakes to Avoid
✅ Do This
- Wear safety glasses and gloves throughout
- Use a ladder rated for your weight + tools
- Have at least one helper for lifting
- Disconnect power before wiring the motor
- Check local building codes before starting
- Keep all fasteners stainless steel to prevent corrosion
❌ Don't Do This
- Don't install on grass or sand without footings
- Don't skip the 24-hour concrete cure time
- Don't over-tighten bolts (strip aluminum threads)
- Don't wire the motor with power connected
- Don't install alone — frame is heavy and awkward
- Don't use non-stainless fasteners (will rust)
Frequently Asked Questions
How long does it take to install a motorized louvered pergola?
A standard 3×4m pergola takes 2 experienced installers 4-6 hours for full assembly, plus 1-2 days for concrete foundation curing. A 4×6m or larger unit typically takes 1-2 full days. First-time DIYers should budget 2-3 days with a helper.
Do I need a building permit to install a pergola?
It depends on your location. In most countries, freestanding pergolas under a certain size (typically 10-20 sqm) and height (usually under 2.5-3m) do not require a permit. However, attached pergolas, structures over the size limit, or properties in historic districts / HOA communities may require approval. Always check with your local building department before starting.
What foundation is required for a louvered pergola?
Each post requires a concrete footing at least 30×30×40cm (12×12×16in) below the frost line, with M12 or M16 anchor bolts embedded. For soft soil or large units (4×6m+), we recommend 40×40×50cm footings with rebar reinforcement. Never install on grass, sand, or uneven surfaces without proper footings.
Can I install a pergola on an existing concrete patio or wooden deck?
Yes, if the structure can support the load. For concrete patios (minimum 10cm thick), use chemical anchors or expansion bolts. For wooden decks, reinforce the joists under each post and use carriage bolts through the decking into the joists. Always verify the deck's load capacity — a 3×4m pergola weighs 250-400kg plus wind loads.
What electrical supply is needed for the motor and controls?
A standard 220-240V / 110V AC outdoor-rated power outlet within 3m of the motor location is sufficient. The pergola motor uses 24V DC (transformer included), drawing 50-100W during operation. We recommend a GFCI/RCD protected circuit with weatherproof conduit. WiFi smart controllers require a 2.4GHz WiFi signal at the installation site.
Need Professional Installation Help?
AluShed provides detailed installation manuals, video guides, and remote technical support for all our pergola systems. For complex projects or commercial installations, we can recommend certified installers in your region. Contact us for free CAD drawings and a step-by-step installation walkthrough.
🔗 Related Articles & Products
- Motorized Louvered Pergola Buying Guide 2026: AluS180 vs AluS220
- Louvered Pergola vs Retractable Roof: Which One Is Right for You?
- Motorized Louvered Pergola — Product Page
- Windproof Zipper Roller Blind — Side Screens
- PVC Folding Retractable Roof — Product Page
- Full Cassette Retractable Awning — Wall-Mounted Shade
- View All Blog Articles →